
How to
Using Controller List Creator
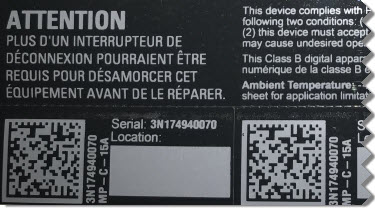
You can use the Controller List Creator function of the eCommission SmartX Controllers mobile application to capture device information from the Digital Matrix symbol on the tear-off product info labels of SmarX IP Controller devices.
The Controller List Creator saves this information in the background to a data file that can be exported as a comma-separated file for use in documenting the controllers at the job site.
On the mobile device, start the eCommission application.
In the Login view, in the Username box, type your username.
In the Password box, type your password.
Tap Login .
In the Select Connection view, tap the Controller List Creator button
.action_zoom_plus_stroke 
In the Create Project dialog box, type a name in the Project name box.
Tap CREATE . A controller data file is created in the background.
Tap the Scan icon
, either at the top of the window or in the center of the view.action_zoom_plus_stroke 
If this is the first time the camera of the mobile device is used with the eCommission application, provide permissions as requested.
Aim the camera at the Data Matrix symbol on the tear-off product info label of the SmartX IP Controller device. To allow the camera to acquire the image, adjust the distance for focus, adjust lighting conditions as needed, and keep the mobile device steady.
When the image capture succeeds, the List Creator view is displayed, and the Model , Serial number , and Ethernet MAC boxes are populated with data.
In the Location box, type the location of the SmartX Controller device.
In the Equipment box, type a short description of the equipment that is associated with the SmartX Controller device.
In the Comment box, type a comment that you want to associate with the SmartX Controller device.
To acquire data for another SmartX Controller device, repeat the preceding steps. The second device is added below the first one.
Continue capturing data from additional SmartX Controller devices as needed.
Tap the File Management button
at the top of the window.action_zoom_plus_stroke 
In the Project List view, select a project from the list.
Note:In the Project List view, you can also review the list of existing projects and delete a project or create a new one.
For more information, see Managing Projects in the Controller List Creator .
Tap the Export button
to export the data to a controller list file.action_zoom_plus_stroke 
In the Export dialog box, copy the file path where the controller list file is located. To do this, tap the path in the Location text box, choose Select All , and then select Copy to copy the text to the clipboard.
Tap OK to export the data to a controller list file.
In the Project List view, tap CONTINUE .
Find the controller list file by navigating to the CommissioningTool\QR Code Report folder, using either of two methods:
Note:File organization, and navigation within the file structure, varies from one Android platform to another. Therefore, you may need to try more than one approach when searching for the controller list file.
You can use a file navigation utility on the mobile device, for example File Explorer, to perform a search for the folder name.
You can follow the path you previously saved to the clipboard. To do this, start a file navigation utility on the mobile device, for example File Explorer, paste the path text into the search box, and then execute the search.
You can copy the controller list file to another location on the mobile device. This file contains comma-separated values, and can be opened as a spreadsheet in Microsoft Excel.
You have created a controller list file, which can be used to document the SmartX IP Controller devices within the system.
 eCommission SmartX Controllers Mobile Application Overview
Managing Projects in the Controller List Creator
eCommission SmartX Controllers Mobile Application Overview
Managing Projects in the Controller List Creator
 Captured SmartX IP Controller Data Appears in Red Text