Hur göra
Selecting the Scenes Menu
You can program lighting control to create special scenes that illuminate an area based on the time of day, such as dimming the lights with the click of the night light button.

You enable this feature using the Display object Scene Configuration page to drag and drop the available night light button to program the Touchscreen Display. You associate scenes with an application through a Script program. This Script program reads the Display object Selected scene property and then uses it to determine the levels and positions of lights and blinds, for example, along with other outputs such switching a projector on or off.
In the Front menu screen of the SpaceLogic Sensor Touchscreen Display model, click the menu button
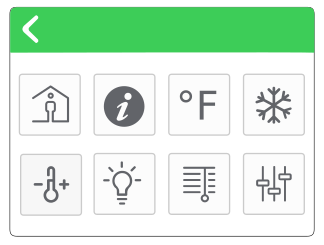
to view the Functions menu. In this example, the button for the scenes menu is located on that menu screen.action_zoom_plus_stroke 
action_zoom_plus_stroke 
In the Functions menu screen, access the scenes menu by clicking the button.
action_zoom_plus_stroke 
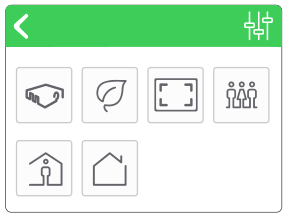
In the Scenes submenu, click the button to initiate a series of specific, predefined actions to occur with a single button click, such as the following actions:
Choosing Presentation mode to turn on a projector
Choosing energy saving
Specifying a perimeter
Selecting a meeting
Selecting occupied or unoccupied modes
The Selected scene property shows the scene identifier corresponding to your scene button click. The control application binds to this property, so the SpaceLogic Sensor button can act as an application input.
action_zoom_plus_stroke 
 SpaceLogic Display Properties
 SpaceLogic Sensor Touchscreen Display Model
 Configuring SpaceLogic Sensor Display Properties
 Application and Scene Association

