How to
Configuring a Variable Triggered Trend Log
You configure the properties of a variable triggered trend log to meet the unique needs of your site.
In WorkStation, in the System Tree pane, select the variable triggered trend log you want to configure.
On the File menu, click Properties .
In the properties dialog box, click the Basic tab.
Edit the basic properties:
Table: Variable Triggered Trend Log Properties - Basic Tab
Component
Description
Status
Displays the status of the trend log.
Enabled
Displays True if the trend log is enabled.
Logged variable
Enter the variable you want to log.
Delta
Select the minimum value change that triggers a new record.
Trigger variable
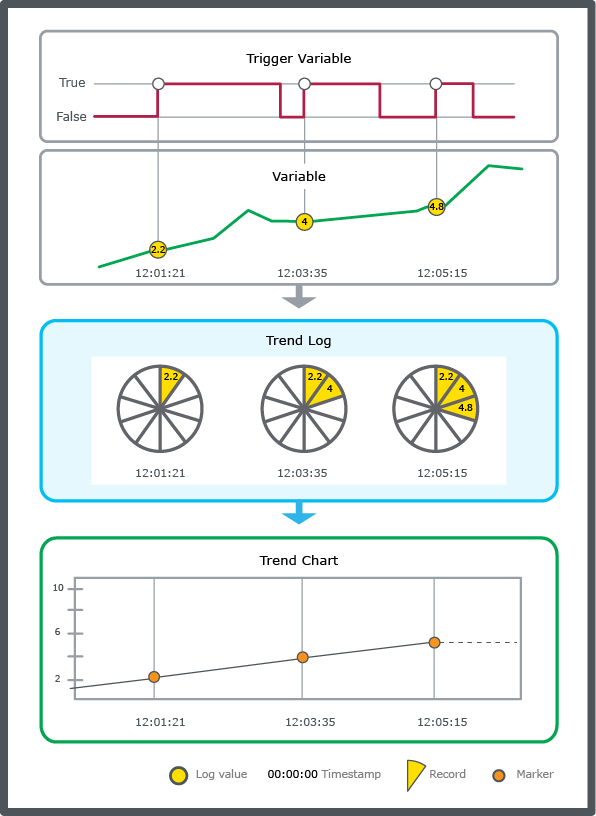
Enter the variable that triggers the trend log to start recording.
Trigger condition
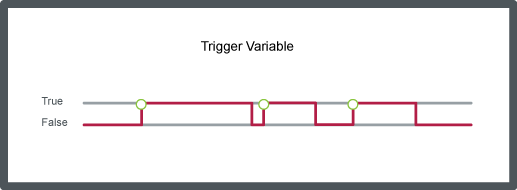
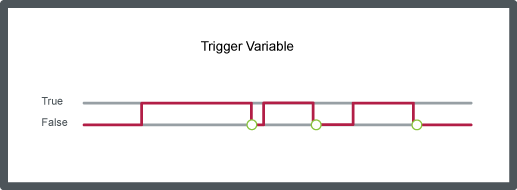
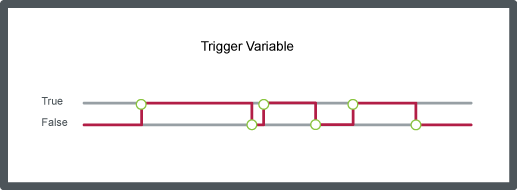
Select when you want the variable recorded: when the trigger variable changes to True, changes to False, or at all changes.
For more information, see Variable Triggered Trend Logs .
Log size
Select the number of records to store before old records are overwritten, including internal records generated by the trend log.
For more information, see Log Record Storage .
Clear when enabled
Select True to clear the trend log when it is enabled.
Click the Meter info tab.
Edit the meter properties:
Table: Meter Info Tab
Property
Description
Is meter log
Select True if the trend log meter function is active.
For more information, see Meter Function .
Meter change time
Enter the time when the meter was changed.
Meter change user
Enter the name of the user account that changed the meter.
End time
Enter the time when the old meter was replaced.
End value
Enter the value the old meter had when it was replaced.
Start time
Enter the time when the new meter was installed.
Start value
Enter the value of the new meter when it was installed.
Meter constant
Enter the constant of the new meter. If the meter counts in kilo (10 3 ), the constant is 1000.
Min value
Enter the first value of the new meter after roll-over.
Max value
Enter the last value of the new meter before roll-over.
Click OK .
 Variable Triggered Trend Logs
 Variable Triggered Trend Log Properties – Basic Tab
 Configure Dialog Box – Configuration Tab
 Variable Triggered Trend Logs
 Configure Dialog Box – Operation Tab
 Log Record Storage
 Meter Function
 Trend Log Does Not Start Record Due to the Start Condition


