Log on to rate and give feedback
1
2
3
4
5
Log on to rate
0

Ratgeber
Produkte:
WebStation
Funktionen:
Trends
Produktversion:
2.0, 2.1, 3.0, 3.1, 3.2, 3.3, 2022, 2023
22.07.2018
X-Achse mit absoluter Zeitspanne konfigurieren
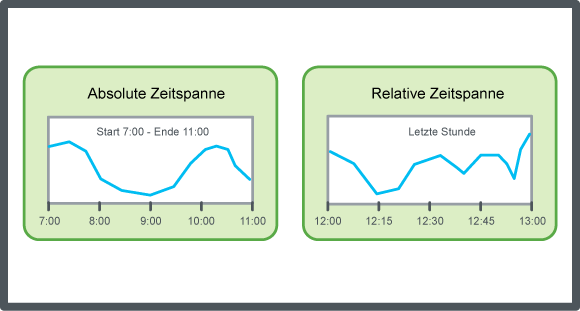
Sie können die Zeitspanne der X-Achse eines Trenddiagramms so konfigurieren, dass die Aufzeichnungen angezeigt werden, die innerhalb eines bestimmten Zeitraums aufgezeichnet wurden.
X-Achse mit absoluter Zeitspanne konfigurieren
Wählen Sie in WebStation im Systembaum das Trenddiagramm aus, das Sie konfigurieren möchten.
Klicken Sie auf der Werkzeugleiste Trenddiagramm die Schaltfläche Einstellungen
.action_zoom_plus_stroke 
Klicken Sie im Dialogfeld Einstellungens auf die Registerkarte X-Achse .
Wählen Sie im Feld Zeitmodus die Option Absolut (Start- und Endzeit) .
Geben Sie im Feld Startzeit das Datum und die Zeit ganz links auf der X-Achse ein.
Klicken Sie auf OK .
Klicken Sie auf Speichern .
Die X-Achse ist nun mit absoluter Zeitspanne konfiguriert.
 Trenddiagrammachsen in WebStation
 Konfigurieren der X-Achse mit einer relativen Zeitspanne
 Rasterlinien im Trenddiagramm anzeigen
 Manuelle Konfiguration der Y-Achsenskalierung
 Automatische Konfiguration der Y-Achsenskalierung
 Aktuelle Trenddiagrammeinstellungen speichern
 Trenddiagrammansicht
 Trend Chart Toolbar
 Dialogfeld Trenddiagrammeinstellungen – Registerkarte X-Achse


