How to
Editing a Date Range Exception Event
You edit a date range exception event to change the information about an exception event.
In WebStation, in the System Tree pane, select the schedule you want to edit.
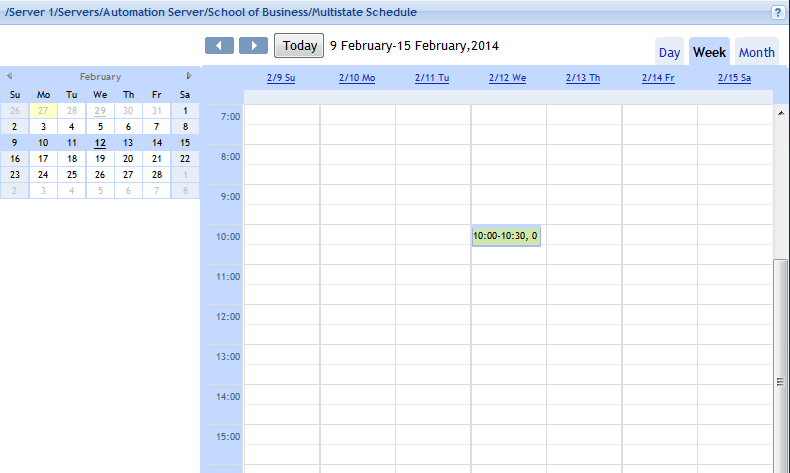
In the Schedule workspace, navigate to the event you want to edit.
action_zoom_plus_stroke 
In the Event grid, click the date range exception event you want to edit.
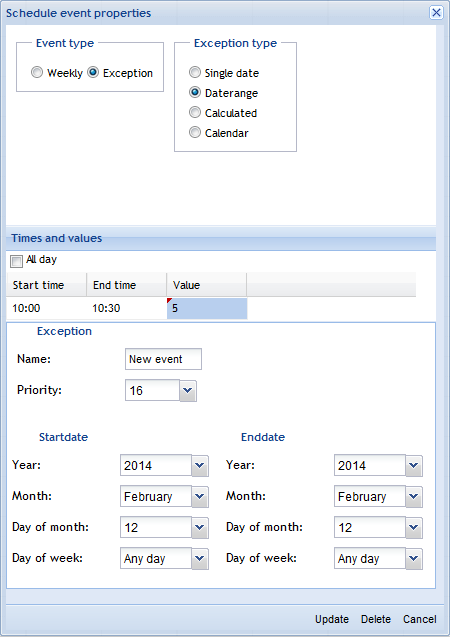
Edit the properties.
action_zoom_plus_stroke 
Table: Schedule Event Properties Dialog Box – Date Range Exception View
Component
Description
Event type
Click Exception to display the exception types.
Exception type
Select Date range for the exception to apply to the schedule.
All Day
Select All Day for an all day event.
Start time
Double-click and type a start time for the exception event.
End time
Double-click and type an end time for the exception event.
Value
Double-click and type a value for the exception event.
Name
Type a name for the event.
Priority
Select a priority number between 1 (highest priority) and 16 (lowest priority).
Year
Select a year. You can use Any year as a valid entry.
Month
Select a month for the exception event or Odd month , Even month , Any month .
Day of month
Select a value for the day of the month. You can use Any Day and Last Day as valid entries.
Day of week
Select a day of the week. Setting the value to Any Day ensures consistency with the rest of the date specification, this is the recommended setting.
Click Update .
Note:To help you avoid mistakes, WebStation warns you when you make changes in a schedule or calendar for today’s date.
 Exception Events in WebStation
 Weekly Events in WebStation
 Schedule Editor in WebStation
 Schedule Workspace Toolbar
 Schedule Workspace
 Schedule Event Properties Dialog Box – Date Range Exception View
 Adding a Date Range Exception Event
 Editing the End Time for a Schedule Event